This time, my writing study group started making videos with AI. We decided to post short videos on places like YouTube, Instagram, and TikTok.
You might be wondering why a writing study group is making videos with AI. My wife wonders the same thing. Watching me sit at the computer churning out strange videos instead of writing, she teases me: “What kind of writing study is this? You're not even writing.”
I explained that the study works like this: we pick a topic, experience something related to it, and then write about that experience. But she still looks unconvinced and keeps on nagging.
Back to the point. In this post, I want to sum up the problems I ran into while making videos with AI, and the elements that matter when producing them.
Creating the Character
One of the most important parts of making a video is creating images of the character who appears in it. If you prepare character images in advance and hand them to the AI as references when requesting a video, it helps maintain character consistency throughout the video.
Rather than making just a single character image, it's better to prepare images that look as if they were shot from several directions. That way, even in scenes where the character moves or turns, the AI can refer to an image at the matching angle, which helps keep the character consistent. A set of images showing a character from multiple directions like this is called a Turnaround Sheet.
This time I wanted to make a video of a cat riding a skateboard, so I created front, back, and side views of the cat character on a skateboard.
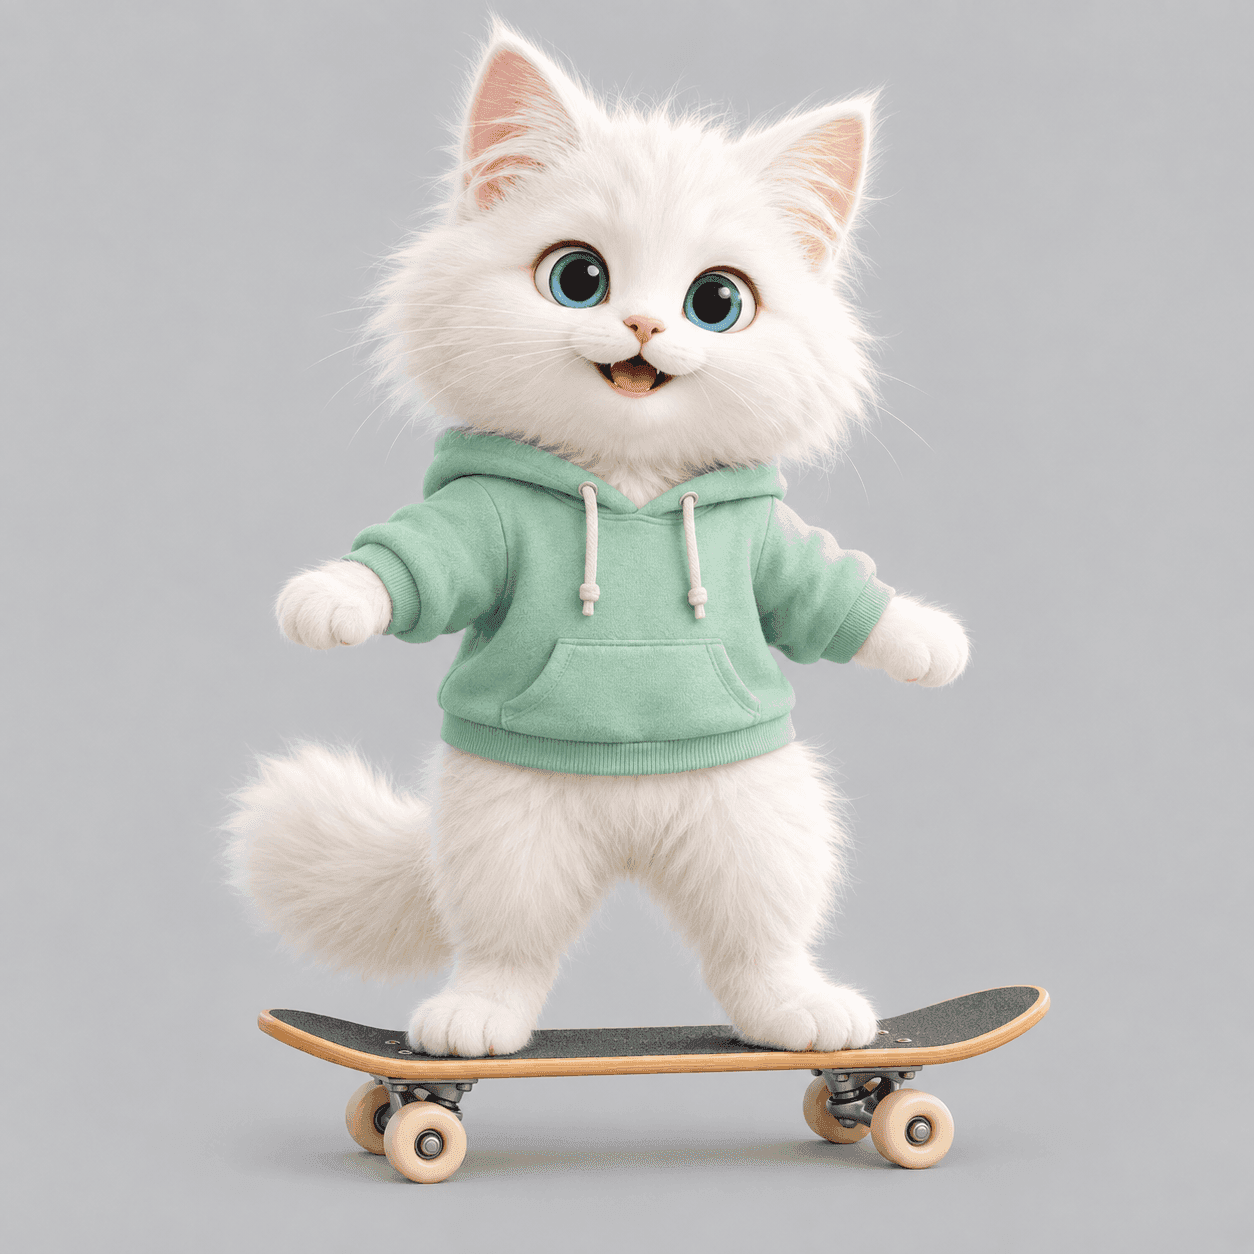
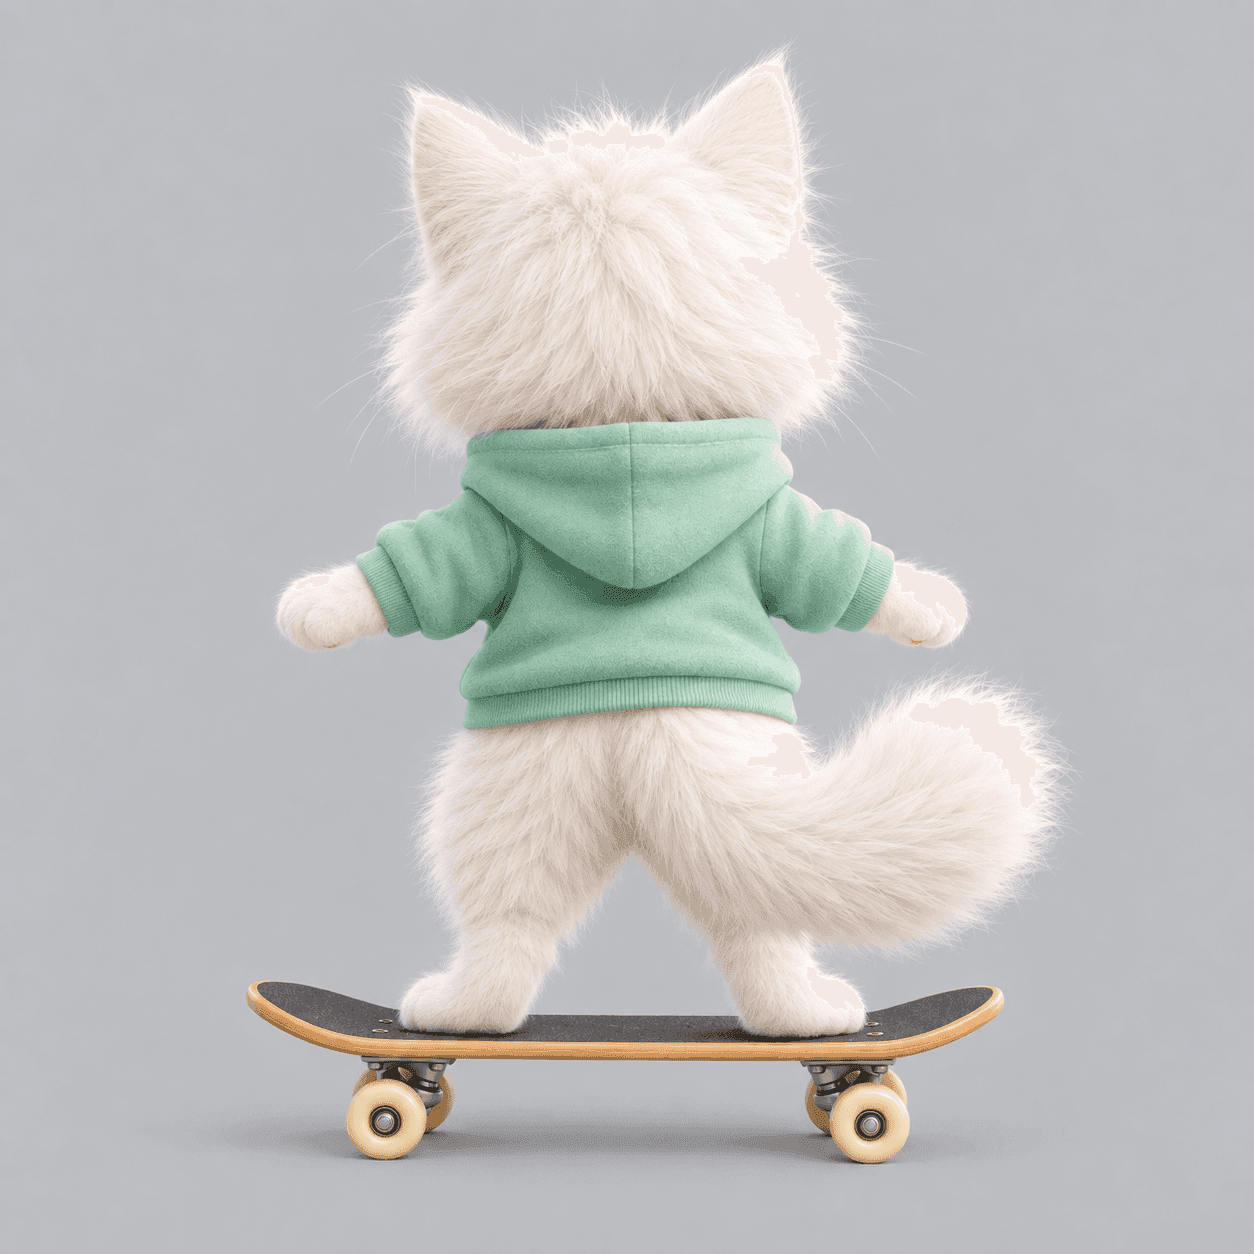
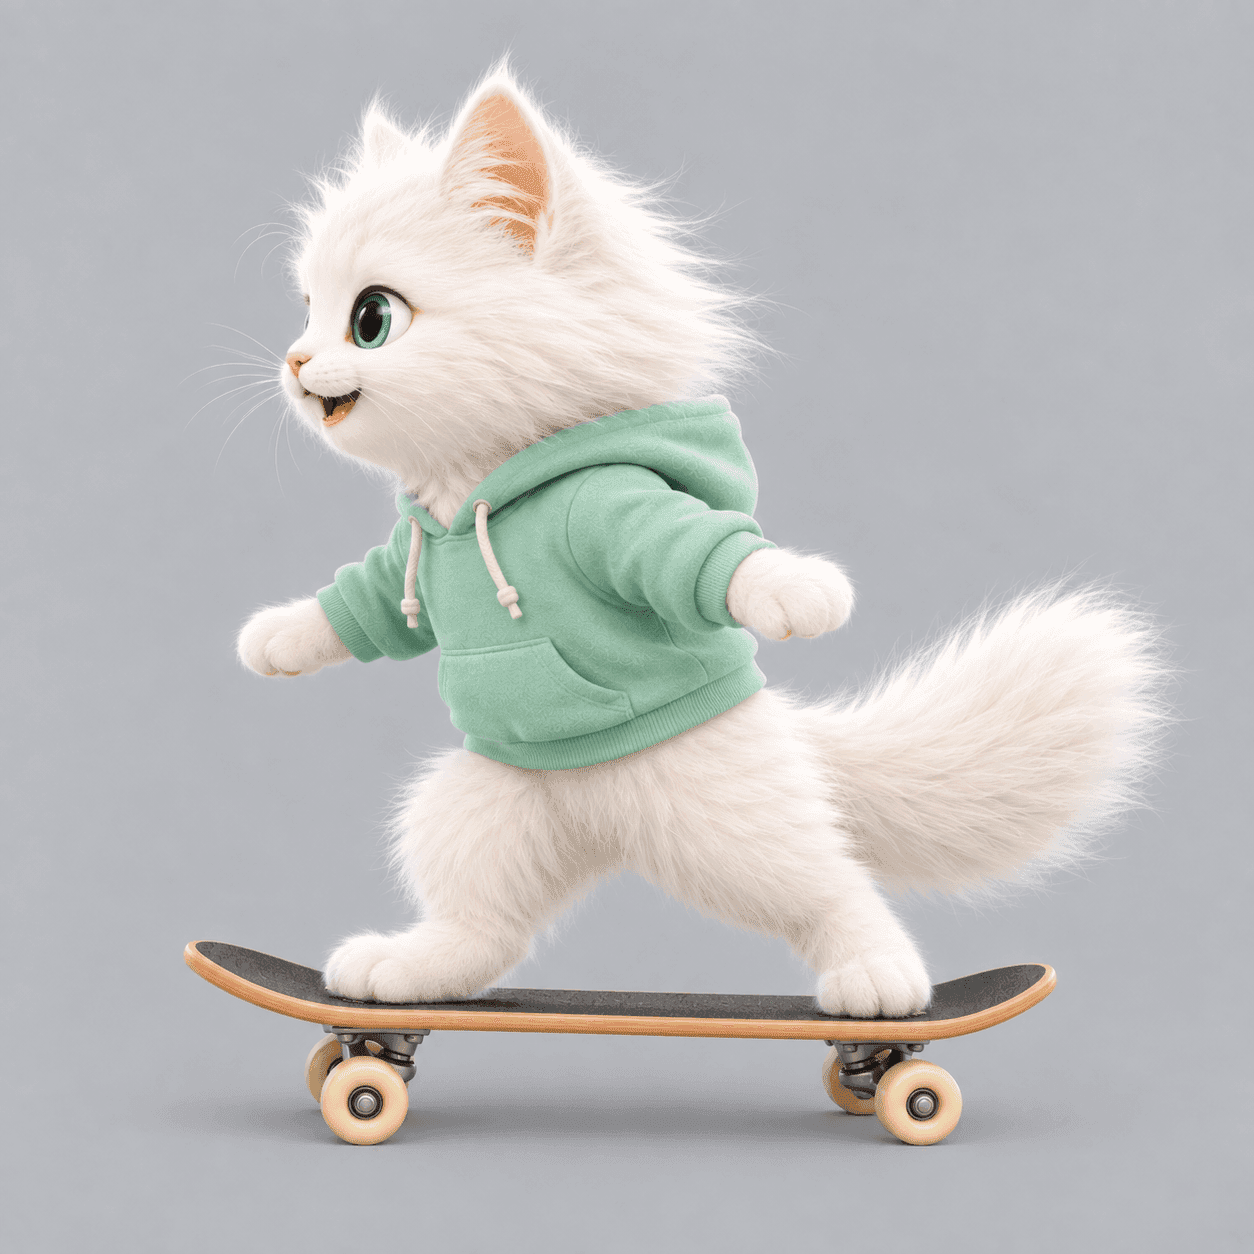
I fed these images in as references and wrote a prompt to generate a video of the cat skateboarding, but the result was a failure.
Look closely at the character images and you'll notice something odd. Suppose the last image, the side view, shows what the cat actually looks like riding the skateboard. Then what should the front and back views look like? Thinking about it this way, you can see that the front and back images I used didn't match the side view.
I regenerated the front and back images and tried again, and this time the skateboarding motion came out much more natural than before.
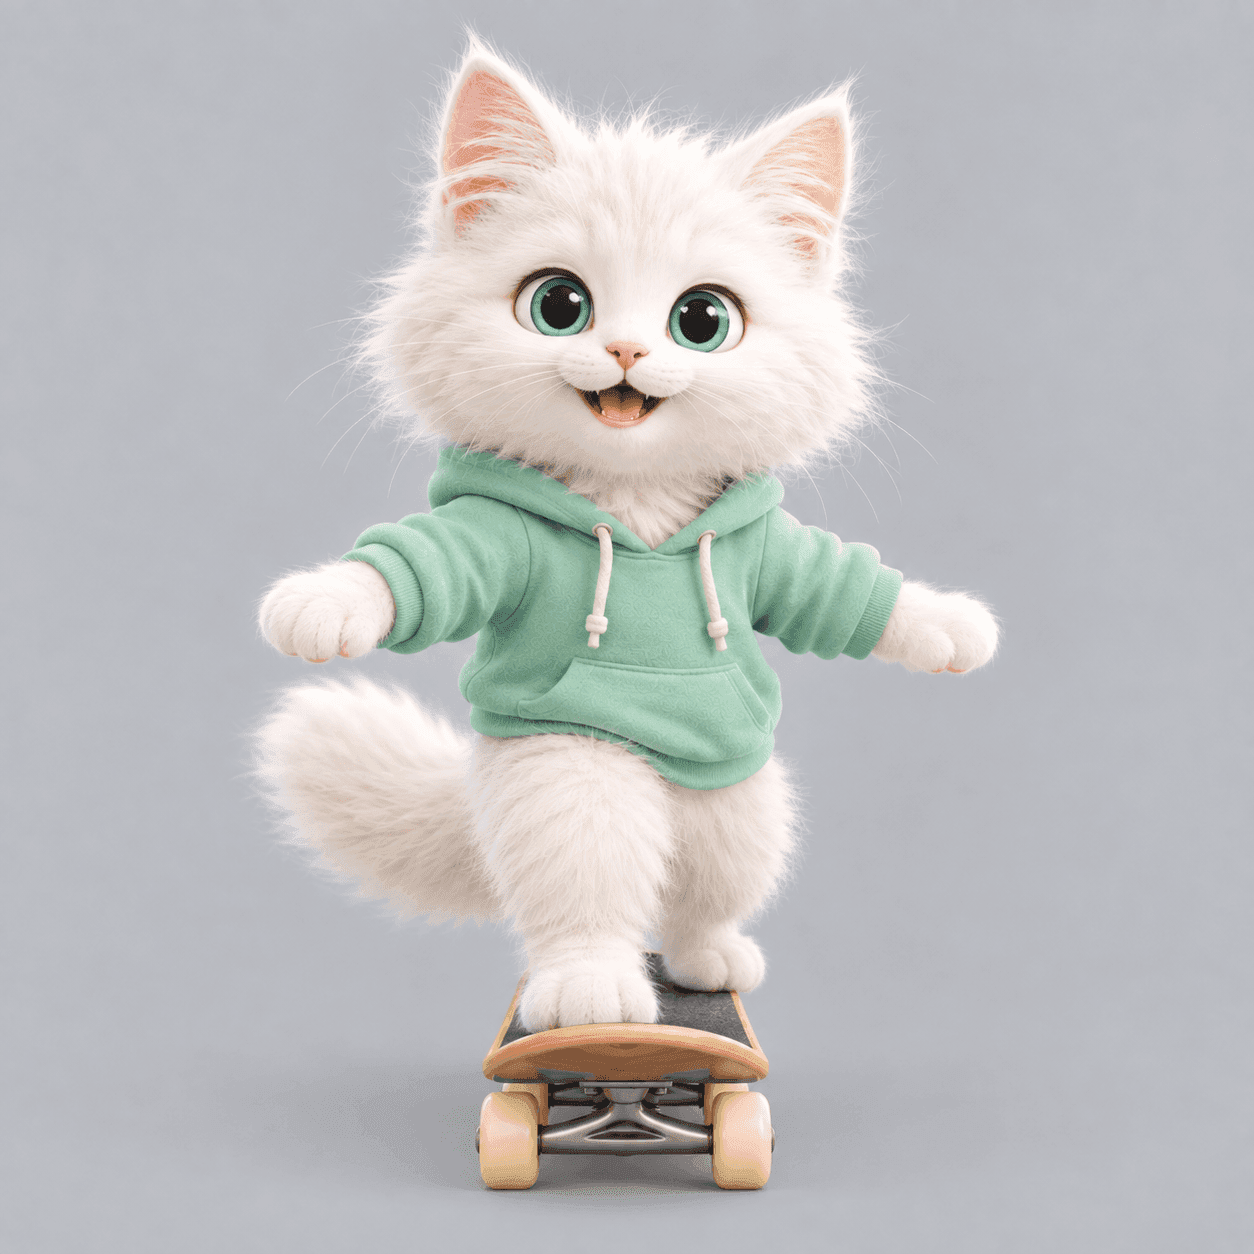
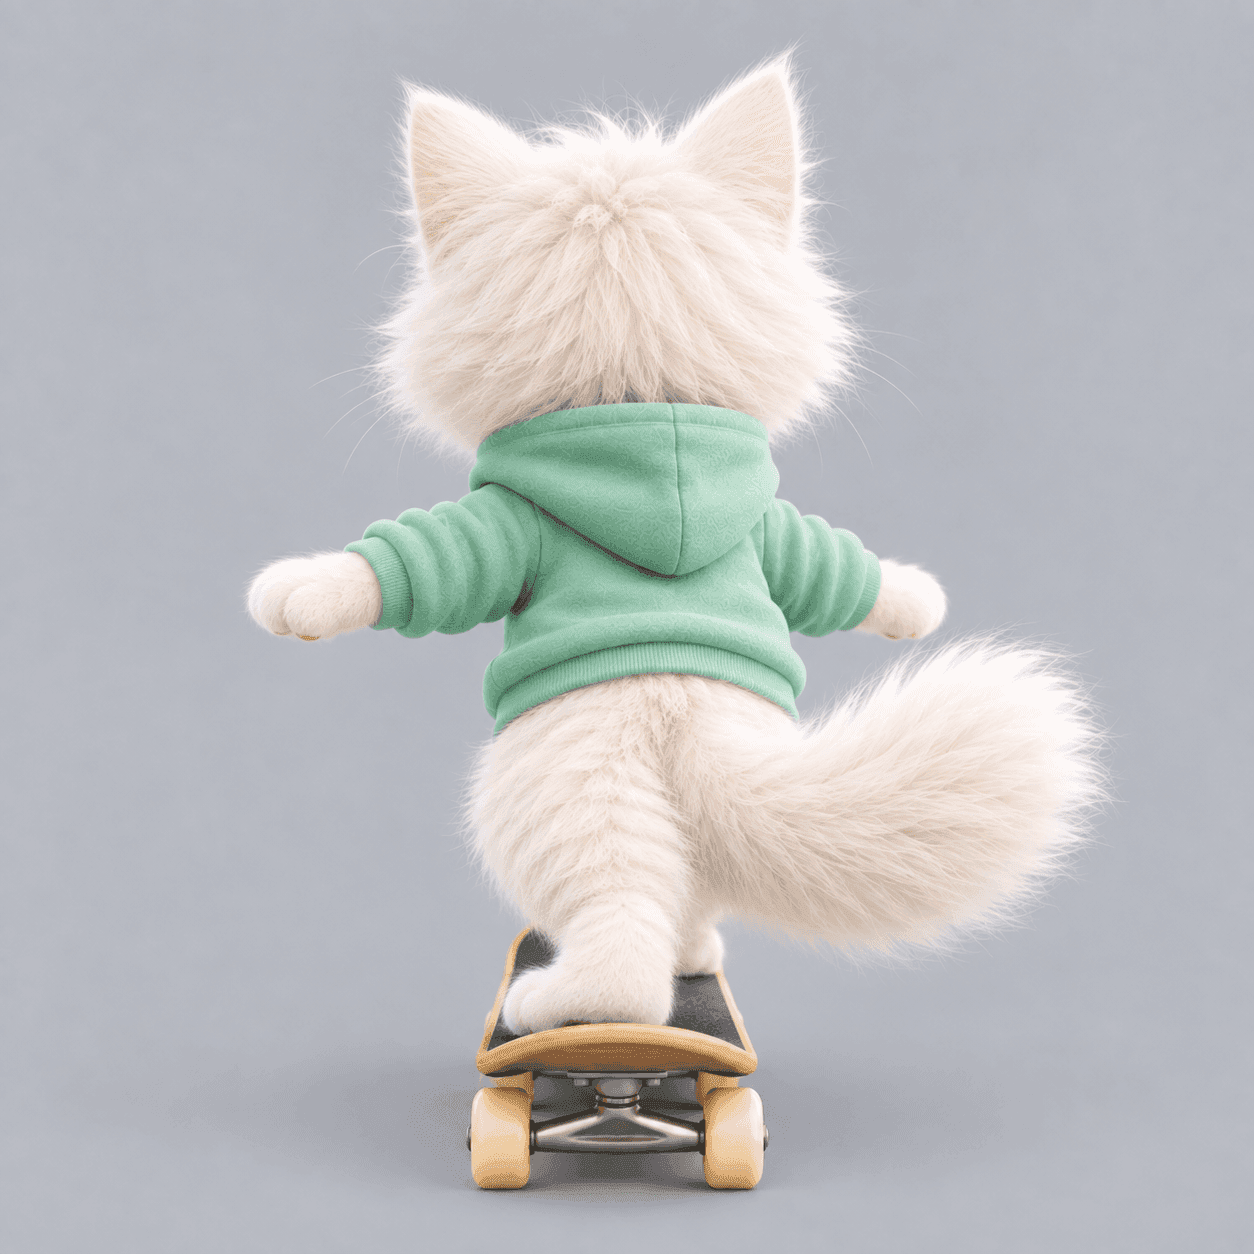
In practice you need images from far more angles than this, but the video I had in mind was a shot of the camera following the cat from behind as it skated. So three images or so were enough to make the video without much trouble.
Creating the Starting Image
The biggest problem in generating videos was cost. Putting real effort into a prompt, adding character images, generating a video, and then ending up with a result you don't like is a real headache.
There are plenty of sites that can generate video, but making a 10-second clip could cost around $2–3. Google Flow offered free credits and was relatively cheap compared to other video generation sites. At the time, using the Omni 1.1 Flash model, I could generate a 10-second video for about 12–15 credits. Of course, a higher-quality model like Veo 3.1 Quality needed about 100 credits.
Since every generation costs money, it was important to keep unsatisfying results to a minimum. The first method, as explained above, was to provide reference images to keep the character consistent. The second was to prepare the starting and ending images in advance.
Instead of jumping straight into video generation with just the character images, you first generate the opening scene of the video as an image, using the character images as references. Then you give the AI both the character images and the starting image as references, and ask it to write a video generation prompt based on them. This way, you start generating the video with the composition of the scene and the look of the character already concretely defined, which makes it more likely you'll get closer to the result you want.
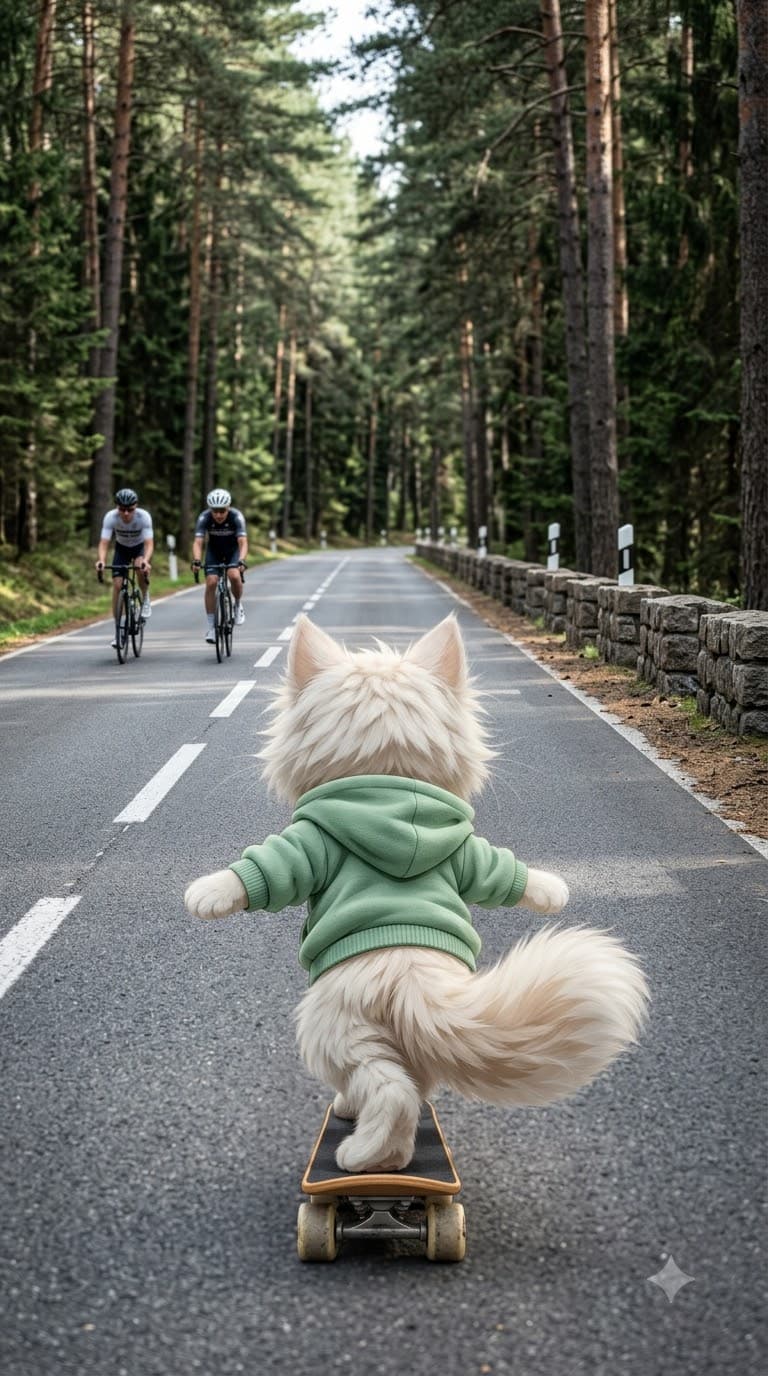
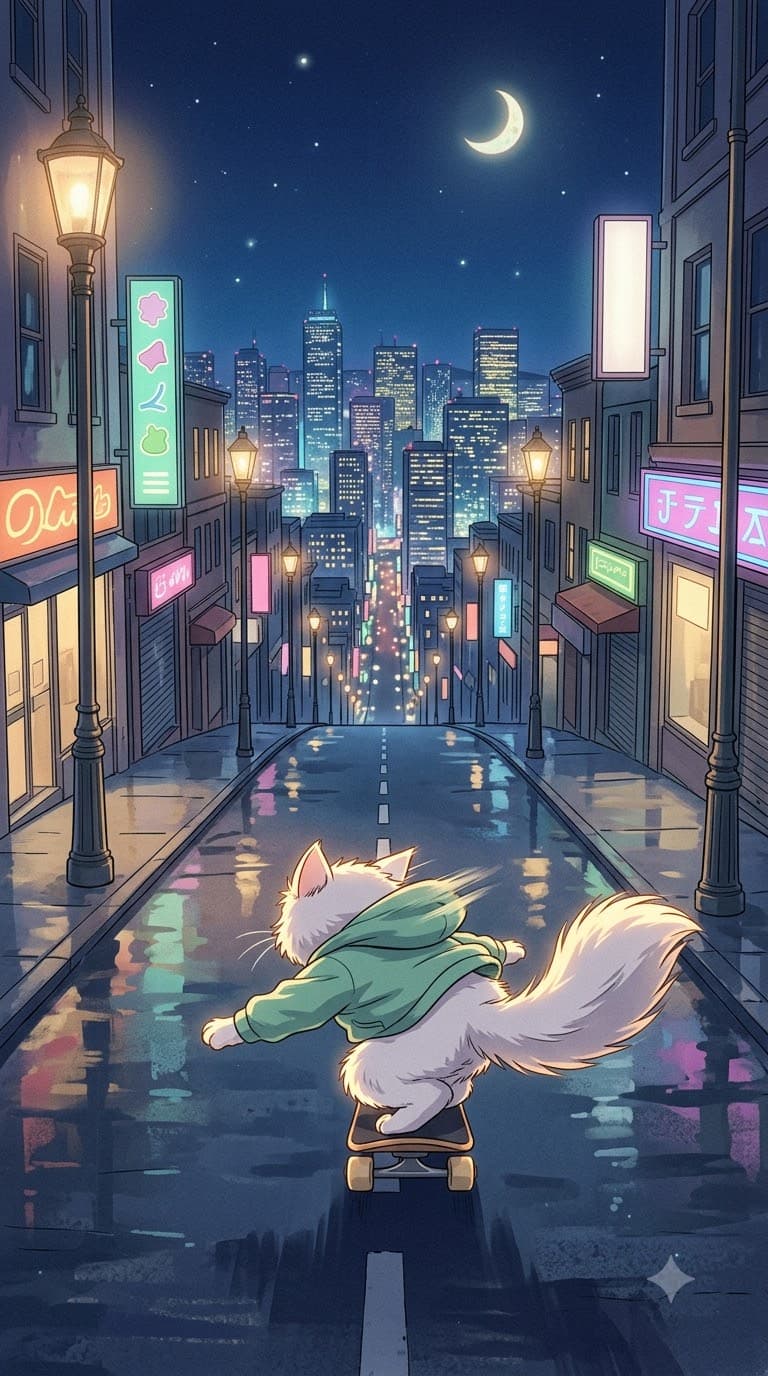
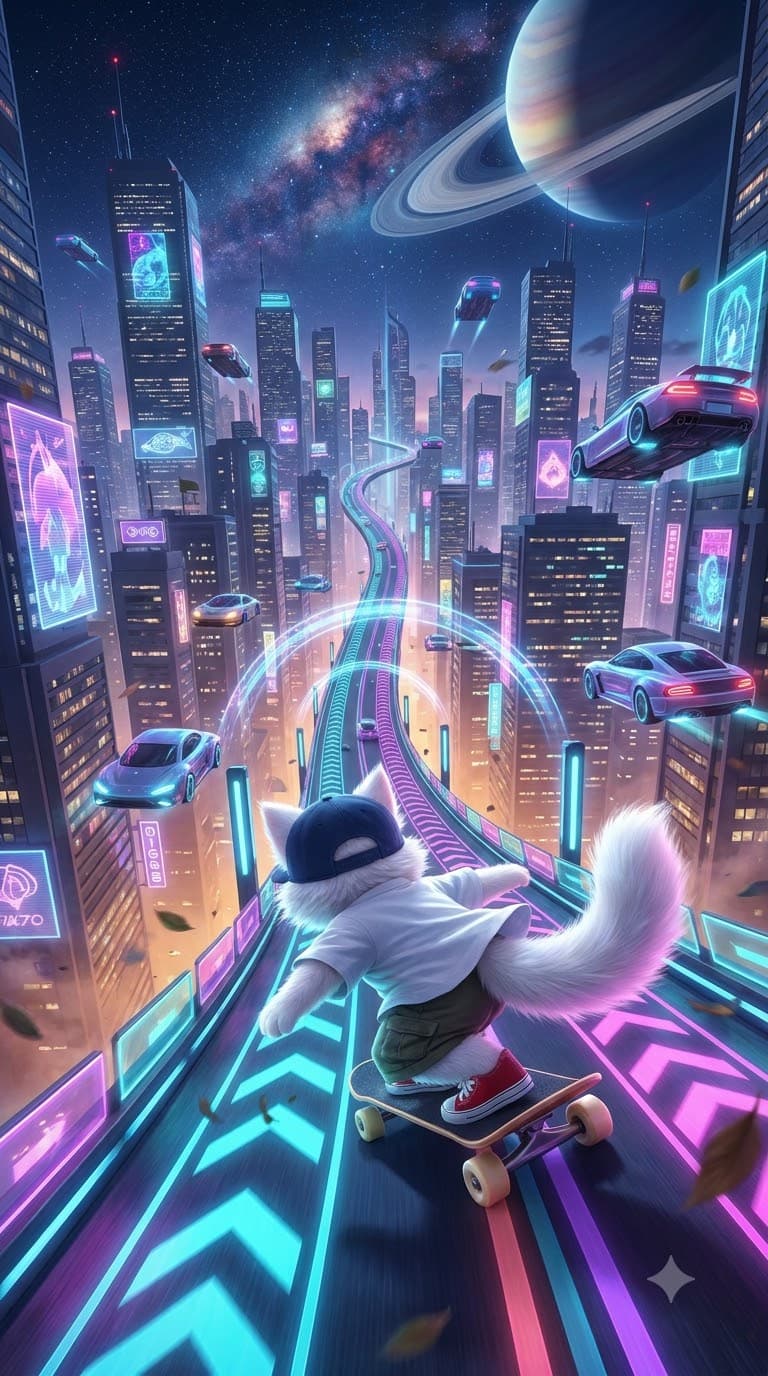
Because the video begins from the starting image, you can predict to some extent what background it will play out in and how it will unfold. You can also fix anything you want to change at the image stage before generating the video, which lets you cut down on unnecessary generations and save a lot of money.
Background Continuity
One of the problems I ran into while generating videos was background continuity. In a skateboarding scene, when the cat rounds a curve, the background to the left or right that wasn't visible before needs to come into view.
But several problems came up as the new background and road appeared. The road would suddenly bend unnaturally, or the background would change as if it had been flipped horizontally. In the worst cases, the background switched over as if someone had turned a page.
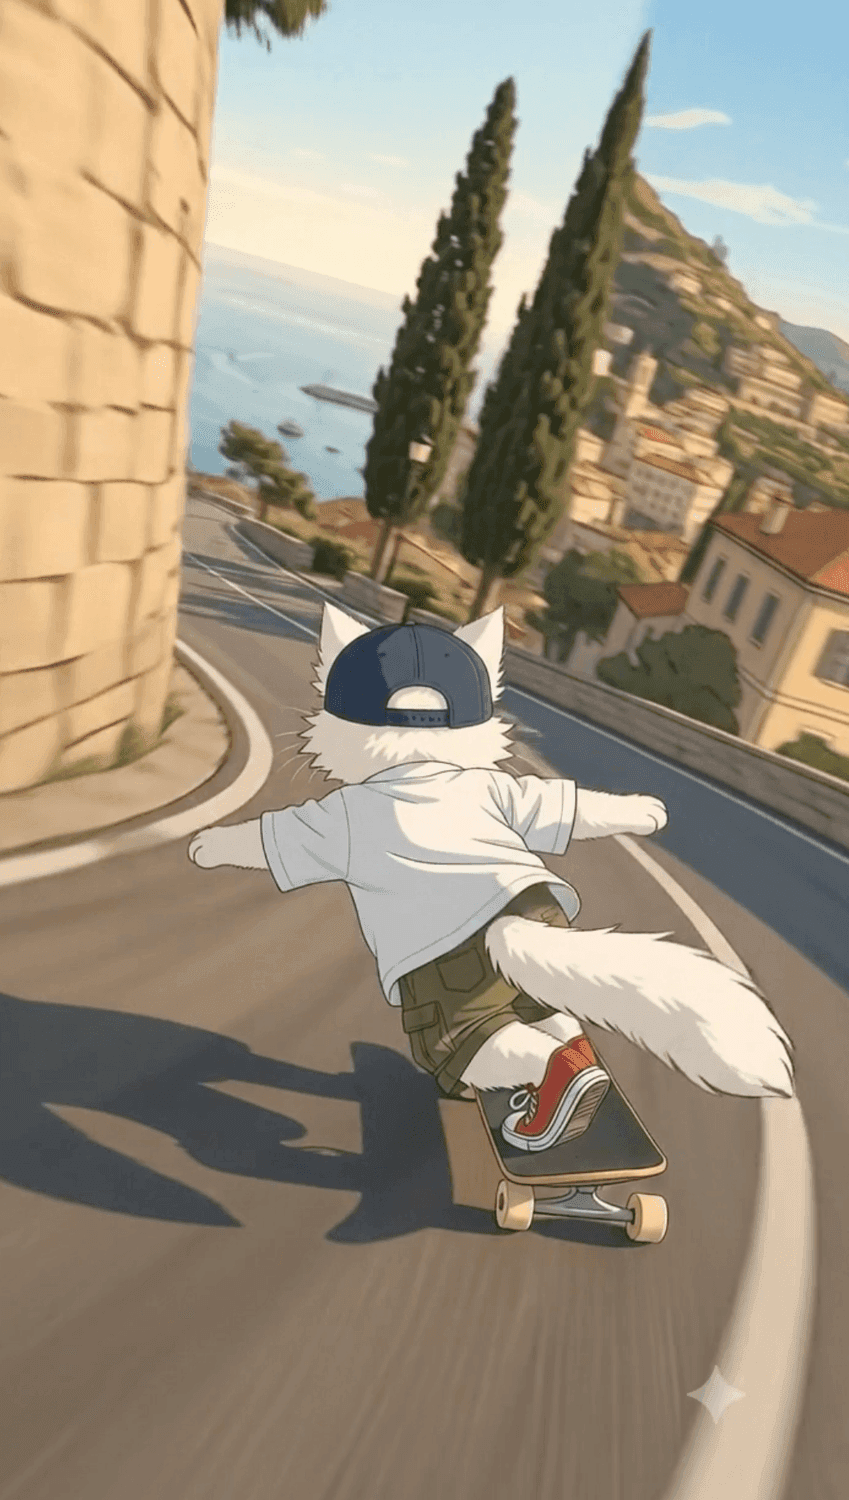
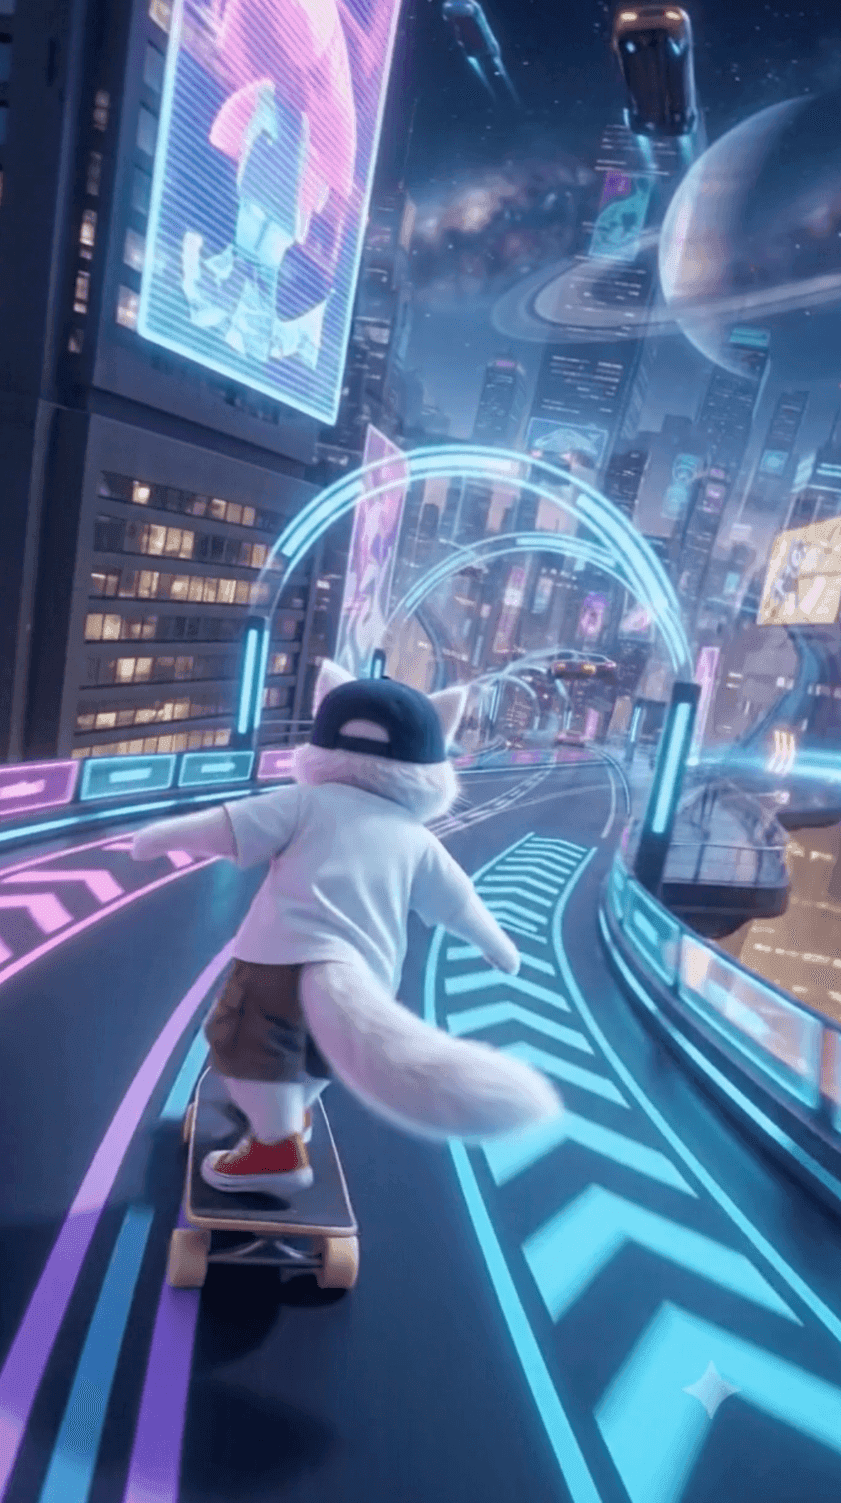
One way to solve this is to create a wide background image in advance, or to build the background as a 3D space and provide that information up front. That way, even when the camera position changes, you can steer the video to be generated based on the spatial information you provided.
Problems like the scene flipping left to right or objects moving around can be reduced by clearly writing the positions of key background elements into the prompt. For example, you set up a mountain peak to the northwest and the sea with a small island to the east, then specify the layout of the space and the camera's position and direction concretely, like “The camera faces north, capturing the mountain peak, the sea, and the small island.”
The simplest method is to generate the video with the camera's position and shooting direction fixed. Limiting camera movement reduces situations where new backgrounds or elements have to appear, which also lowers the chances of the background changing unnaturally.
Other Elements
Beyond the three elements above, there are many more things to consider to get a good video. There's the Storyboard, which lays out the order of scenes and the composition of each frame, and the Shot List, which organizes the composition, movement, and other shooting details for each scene the camera will capture.
As I worked through these one by one, I sometimes felt like I'd become the director of a drama or a film.
The Result
So what video did I end up making? I gave up on the skateboarding cat I had originally aimed for. With Google Flow's cheaper models, it wasn't easy to make a video with dynamic movement that also had to keep the background continuous. Having to try over and over to get a satisfying result was a burden, too.
Instead, I made healing cat videos: a cat relaxing against beautiful backdrops or in small everyday moments. I prepared everything step by step, from creating the character to the starting image and the prompt built on it, and in the end I was able to make a video I'm fairly happy with.


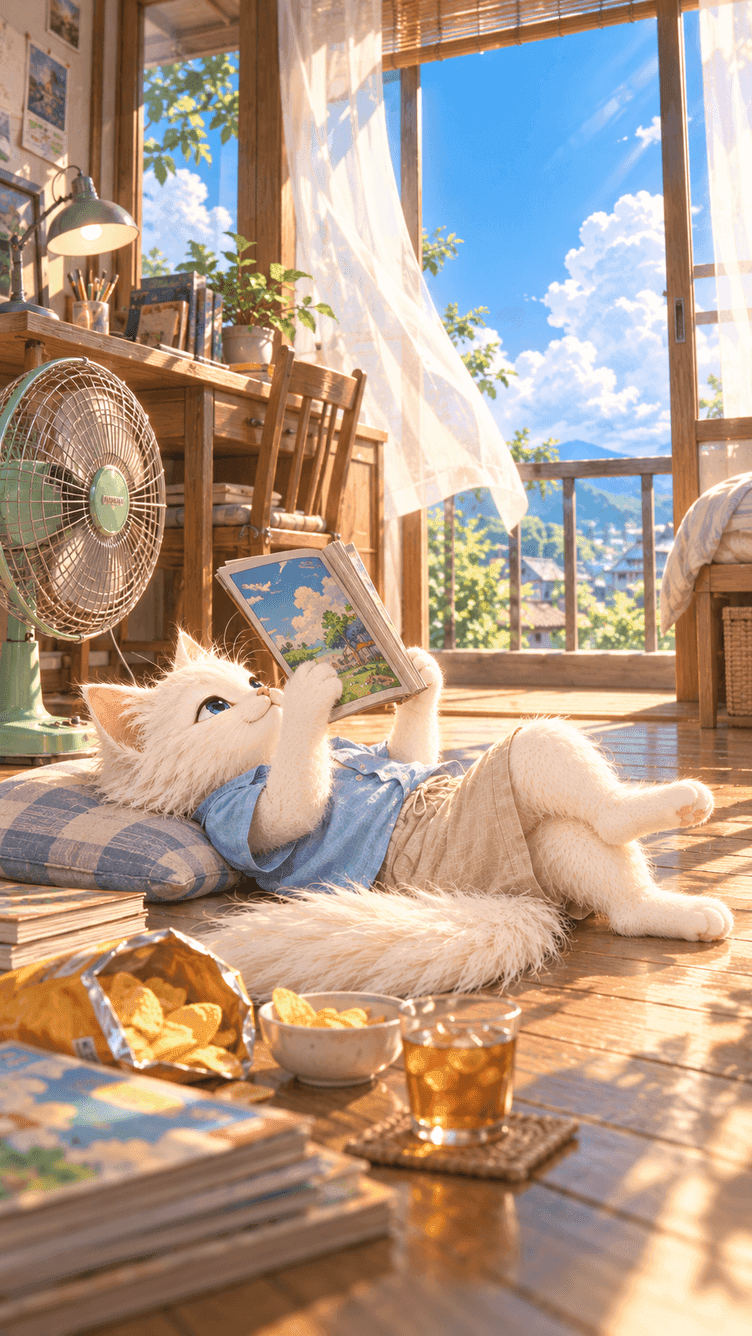
Key elements for generating the starting image
text□ First look    Is it pretty at first glance? / Are the colors vivid?
□ Face          Turned away / eyes closed / hidden by a hat — is it one of these?
□ Character     Do the face, fur, and clothes match the reference?
□ Motion        Is everything that will move in the video already in the image?
□ Space         Is there room for moving things to go?
□ Occlusion     Do moving things avoid passing behind the cat?
□ Clean         No speed lines, light streaks, or effects?
□ Text          No lettering on signs, books, bottles, or bags?
□ Layout        9:16 / Is the cat centered in the bottom third?
□ Brightness    Is the cat clearly visible?
□ Props         Just 1–2, not too many?
□ Style         Do the character and background share the same art style?
Key elements for generating the video
text□ One-line concept:   The cat rests while [doing something] at [a place]
□ Starting image:     9:16 / Pretty at first glance? / Face handled (back view, eyes closed, hat) / No text
□ Character:          Attach references / A fixed character description sentence
□ Motion:             1 main motion + 1–2 supporting ones
□ Fixed:              Sentences pinning props and background in place
□ Cat's movement:     Only breathing, tail, and fur / Head and expression fixed
□ Small event:        One at 4–6 seconds (optional)
□ Camera:             Fixed
□ Sound:              1 main sound + 1–2 background sounds / Music or not
□ Loop:               Last frame = starting image
□ Settings:           9:16 / 8–10 seconds / Omni 1.1 Flash
Truth be told, ever since AI arrived, I'd seen AI-generated videos on social media and thought, "Maybe I should try making one too." I actually turned photos of my own cat into AI images and posted them, but they didn't get the views I'd hoped for, and I quickly got bored and quit.
This time, I'm thinking of consistently posting healing cat videos like the one above. I might give up on this too before the year is out, but I let myself imagine that maybe, just maybe, I could become a well-known AI video creator.
@healing.my.catWatch the reels on Instagram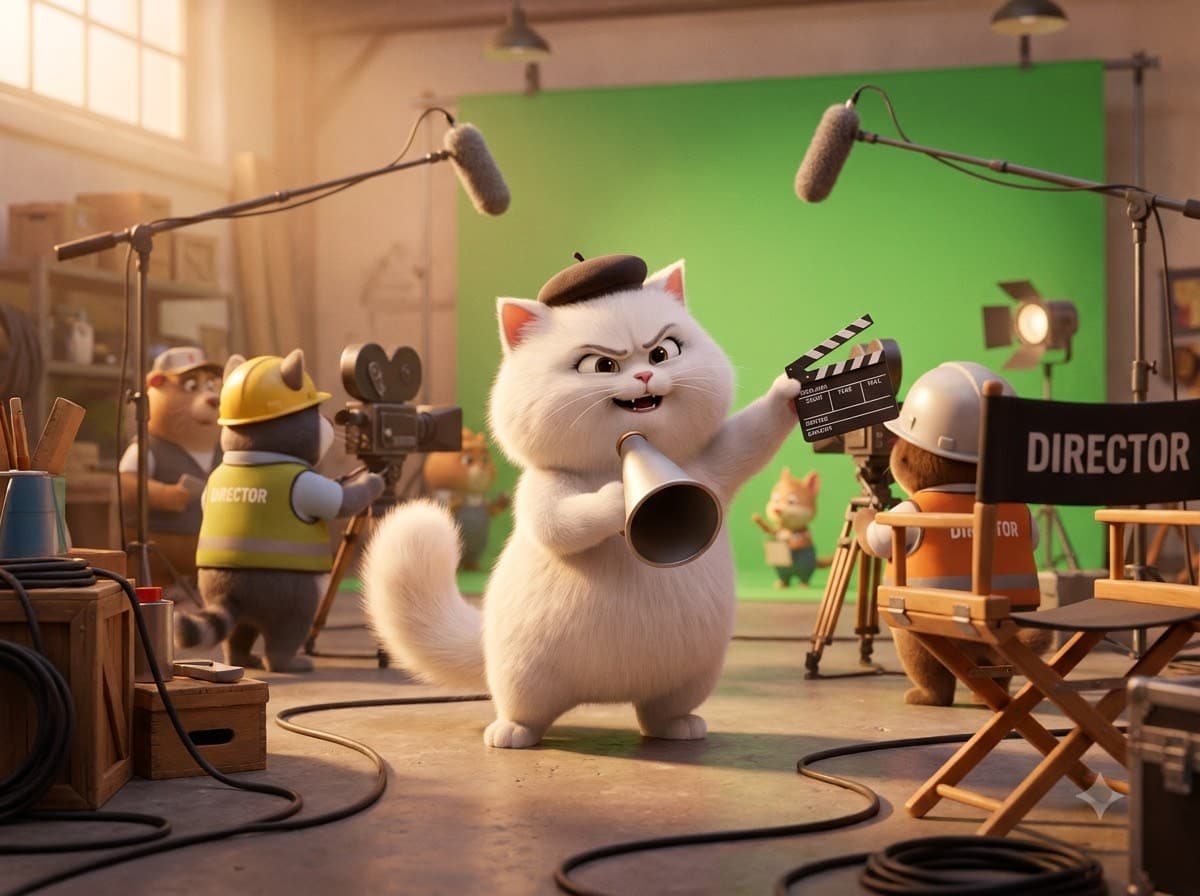
"Every artist was first an amateur." - Ralph Waldo Emerson -